Smart Thermostat Zoning Setup Guide: Fix Hot & Cold Spots for Good
Fall 2026 is shaping up to be the season of the “zoned home.” With utility rates climbing an average of 6–9% year over year and HVAC manufacturers like Carrier and Trane pushing variable-speed systems hard this quarter, homeowners are finally asking the right question: why heat or cool the whole house when you only live in a few rooms? That’s exactly why this smart thermostat zoning setup guide exists — because zoning is the single biggest comfort upgrade most people skip, and it’s more DIY-friendly than ever.
If your upstairs bakes in July while your basement feels like a walk-in freezer, you don’t have a thermostat problem. You have a zoning problem. Let’s fix it.
What Zoning Actually Is (and Isn’t)
Zoning means dividing your home into independently controlled temperature areas. Each zone gets its own thermostat or sensor, and motorized dampers inside your ductwork open and close to direct airflow where it’s needed.
Here’s what zoning is not:
- Just buying a second smart thermostat. Two thermostats on one HVAC system without dampers will fight each other and short-cycle your equipment.
- Closing vents manually. This increases static pressure, strains your blower motor, and can crack your heat exchanger over time. Don’t do it.
- Only for big houses. Even a 1,400 sq ft ranch with a finished basement benefits from two zones.
A true zoning system has three parts: zone thermostats/sensors, a zone control panel, and motorized dampers. The good news? In 2026, you can get 80% of the benefit with smart vents and room sensors — no duct surgery required.
Step 1: Choose Your Zoning Approach
You have three realistic paths, and this smart thermostat zoning setup guide covers all of them:
Option A: Sensor-Based “Soft Zoning” (Easiest, $150–$300) Use a smart thermostat with remote room sensors — like the Ecobee Premium (comes with one SmartSensor, supports up to 32) or the Nest Learning Thermostat (4th gen) with Nest Temperature Sensors. The thermostat averages temps across rooms or prioritizes occupied ones. No dampers, no ductwork changes. Best for mild imbalances of 2–4°F.
Option B: Smart Vent Zoning (Moderate, $300–$800) Retrofit smart vents like Flair Smart Vents or Keen Home vents replace your existing registers and open/close automatically per room. Pair them with Flair Pucks or a compatible thermostat, and each room becomes a pseudo-zone. Works great for homes where you can’t access ductwork. Watch out: don’t close off more than 20–25% of your total vents, or you’ll create the same static pressure problems as manual vent-closing.
Option C: True Damper Zoning (Most Powerful, $1,500–$3,500 installed) A zone control panel (like the Honeywell HZ432 or Ecojay SmartZone) wired to motorized dampers in your ducts, with a thermostat per zone. This is the gold standard for multi-story homes or additions. DIY is possible if you’re comfortable in an attic with low-voltage wiring, but most folks hire an HVAC pro for the damper install and handle the smart thermostat setup themselves.
Step 2: Map Your Zones Like a Pro
Before you buy anything, walk your house with a cheap infrared thermometer (about $25 on Amazon) on a mild day. Check every room’s temperature at the same time. You’re looking for patterns:
- Sun exposure: South- and west-facing rooms run 3–6°F hotter in the afternoon.
- Floor separation: Heat rises. Upstairs zones almost always need independent control.
- Usage patterns: Guest rooms, formal dining rooms, and basements don’t need conditioning 24/7.
Group rooms with similar needs into zones. A typical two-story, 2,200 sq ft home usually lands on 2–4 zones:
- Upstairs bedrooms
- Main living areas
- Basement or bonus room
- Master suite (if it’s far from the air handler)
Pro tip: Don’t create a zone smaller than about 25% of your system’s total airflow capacity. A tiny zone calling for air alone can over-pressurize ducts. If your system is oversized for small zones, look into a bypass damper or a variable-speed blower upgrade.
Step 3: Install and Configure Your Smart Thermostats
Once your zones are mapped, it’s time for the fun part. Here’s the practical sequence:
- Kill power to your HVAC system at the breaker before touching any wiring.
- Label your existing wires with the stickers included in your thermostat box. The most common mistake? Mixing up the W (heat) and O/B (heat pump reversing valve) wires.
- Install the zone control panel first (if doing true zoning). It mounts near the air handler and wires between your thermostats and the HVAC equipment.
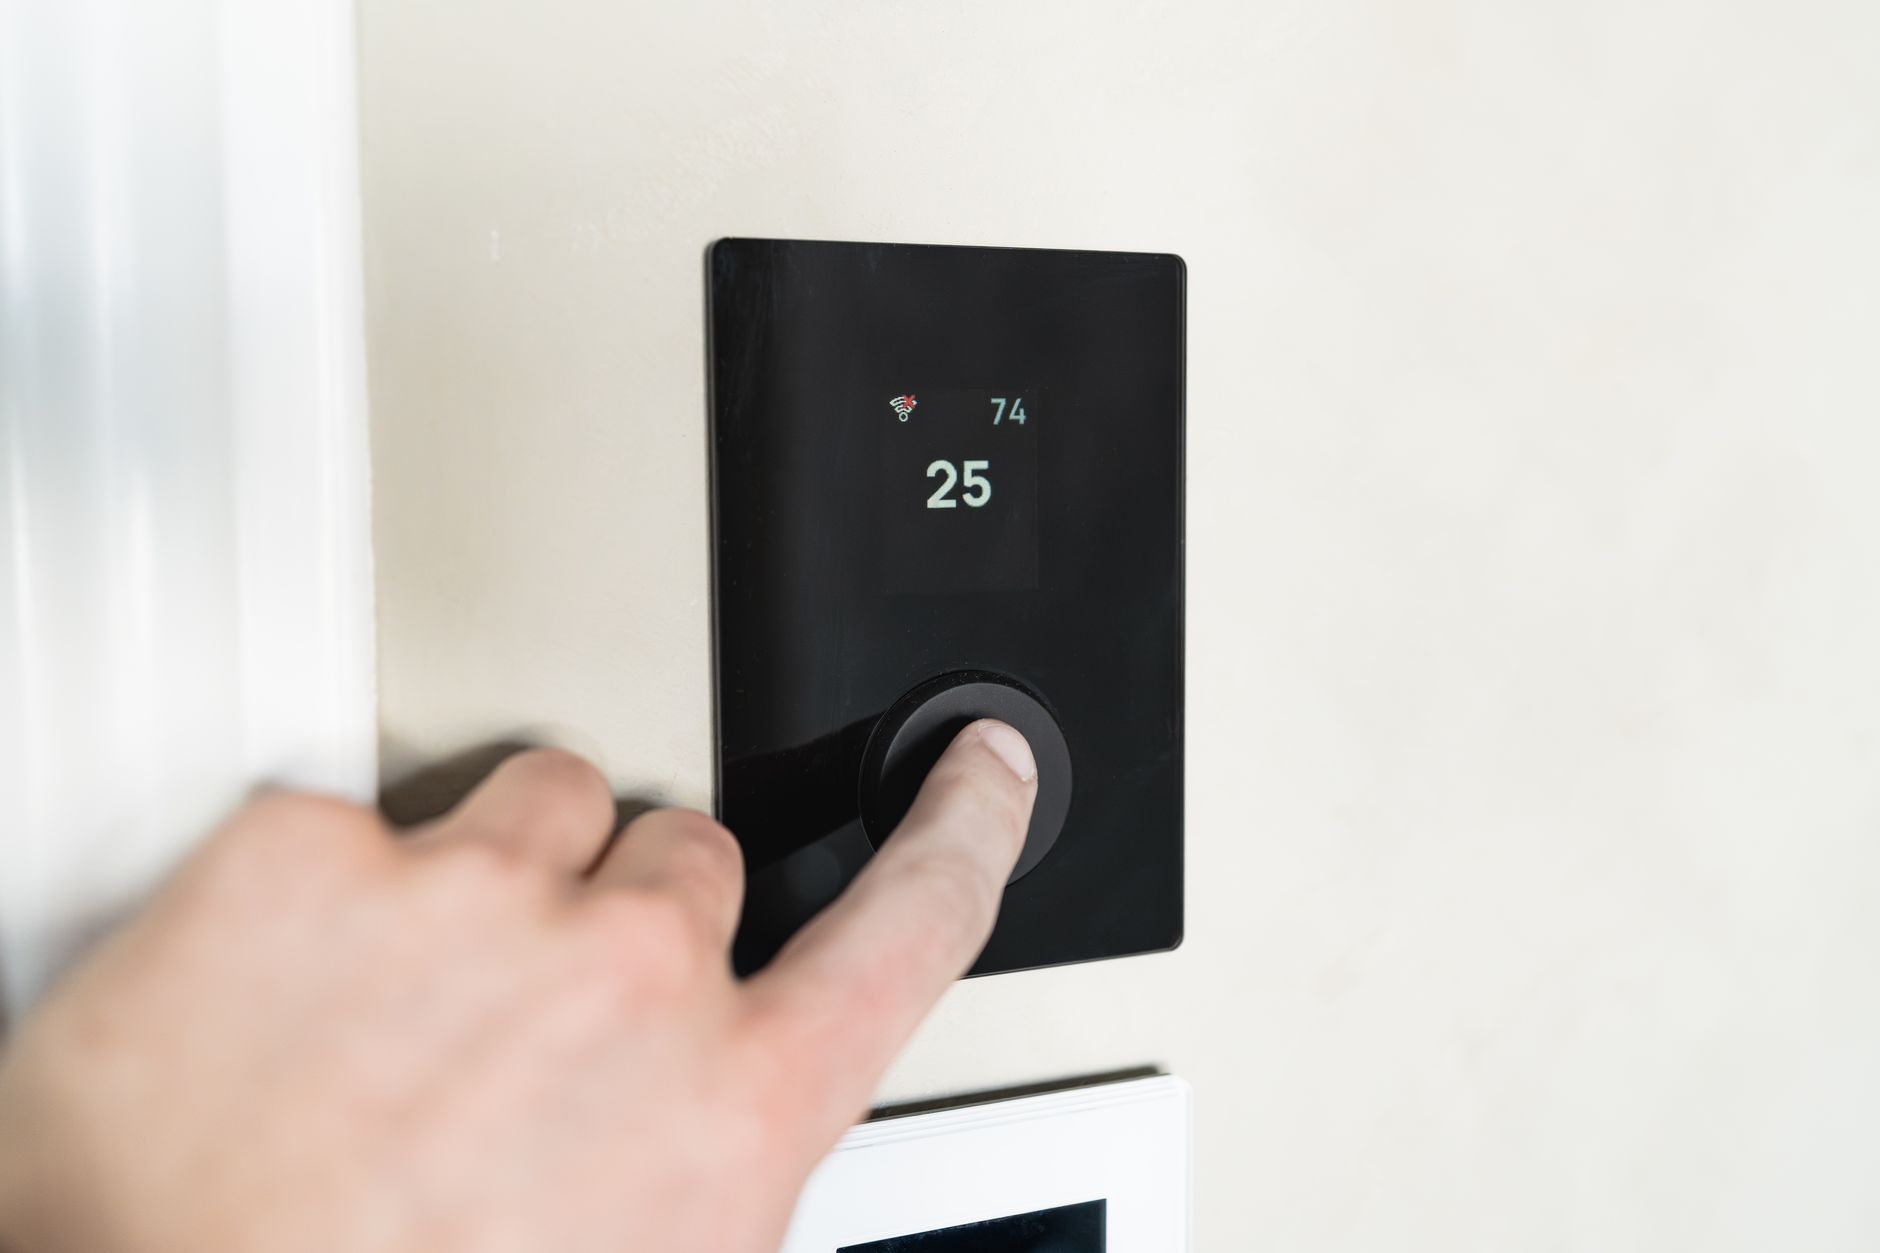
- Mount thermostats on interior walls, away from direct sunlight, kitchens, and supply vents. A thermostat reading a sunbeam will think the room is 78°F when it’s actually 71°F.
- Set up room sensors in the spaces you actually occupy. Ecobee’s SmartSensors detect occupancy, so the system prioritizes the baby’s nursery at night and the home office from 9–5 automatically.
Configuration settings that matter most:
- Minimum runtime: Set to at least 10 minutes to prevent short-cycling when zones call back-to-back.
- Staging delays: Give your system 5 minutes between zone changes so dampers can fully open/close.
- Sensor participation: In the Ecobee app, assign which sensors matter for Sleep, Home, and Away schedules. This is where the magic happens.
Step 4: Dial In Schedules and Automations
A zoning system without smart scheduling is like buying a sports car and never leaving second gear. Here’s how to squeeze out every bit of efficiency:
- Bedroom zones: Start cooling/heating 30 minutes before bedtime. Drop the setpoint 4–6°F after everyone’s asleep if you like it cool.
- Living zones: Set back 5–8°F during work hours if the house is empty. With occupancy sensors, this happens automatically.
- Rarely used zones: Keep guest rooms 8–10°F off your comfort setpoint. When family visits, bump it via voice command or app.
Real numbers: The Department of Energy estimates you save about 1% on your energy bill per degree of setback over 8 hours. Zoning amplifies this because you’re not conditioning empty space at all. Homeowners with proper zoning typically report 20–30% HVAC energy savings — that’s $300–$600/year for the average American household spending $1,800+ on heating and cooling.
Integrate with your broader smart home too. A Matter-compatible thermostat (like the Ecobee Enhanced or Nest with Matter support) can trigger ceiling fans, close smart blinds on the sunny side of the house, and even fire up a dehumidifier — all working together to reduce the load on your HVAC system.
Common Mistakes That Kill Zoning Performance
Even a perfect smart thermostat zoning setup guide can’t save you from these traps:
- Ignoring duct leaks. Zoning pressurizes your ducts differently. If you have leaky flex duct (and 70% of homes do), seal it with mastic — not duct tape — before zoning.
- Setting extreme temperature differences. Keep zones within 6–8°F of each other. Bigger gaps cause the system to short-cycle trying to satisfy one zone without over-shooting another.
- Forgetting the C-wire. Smart thermostats and zone panels need constant power. If you lack a C-wire, use the included power extender kit or a 24V transformer — don’t rely on battery-only operation.
- Skipping the bypass damper on single-speed systems. If your blower runs at one speed and only one small zone is calling, that air has nowhere to go. A bypass damper routes excess air back to the return.
Your Next Steps
Zoning isn’t a luxury anymore — it’s the logical next step after installing any smart thermostat. Start with the sensor-based approach if you’re renting or testing the waters. Graduate to smart vents or true dampers when you’re ready for room-by-room precision.
This smart thermostat zoning setup guide gives you the framework, but your house is unique. Spend a weekend mapping temperatures, pick the approach that matches your budget and ductwork access, and take it one zone at a time. Within a month, you’ll wonder how you ever lived with that one thermostat in the hallway pretending to know what your bedroom feels like.
Your HVAC system is the biggest energy consumer in your home — roughly 45% of your utility bill. Zoning puts you back in control of it.
Like what you're reading?
Check out our recommended partner for this niche.
Custom Automation Dev — HamDevCo →